How to Grow Your Own Veg in Straw Bales
by Lisa Row
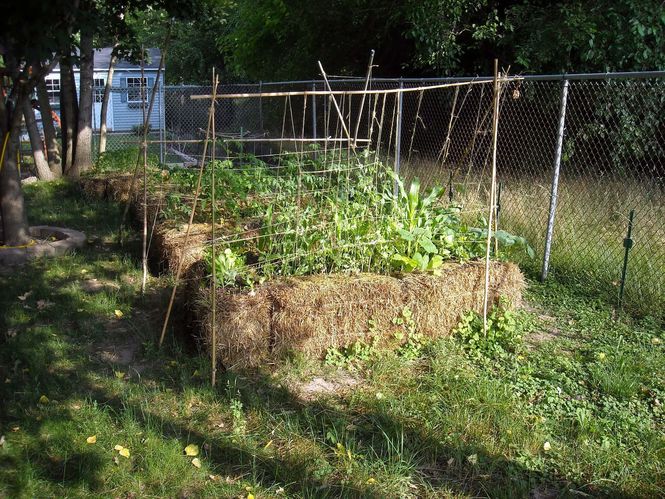
If you love the idea of adding a small vegetable garden to your space but simply don’t have good enough soil, straw bale gardening is a great alternative to traditional soil beds. Once you try this simple, low-maintenance planting method, you’ll wonder why you didn’t try it sooner.
What is straw bale gardening?
This gardening technique involves using straw bales as planters. If you’ve poor quality or hard soil in your garden and growing vegetables has always been a challenge, this is a great solution.
The straw bales are just like the ones you’ll find on farms. They heat up quickly due to decomposition so they’re a great growing method for the cold Scottish climate and actually help to extend the growing season.

Benefits of straw bale gardening
If you’re wondering why you’d use straw bales rather than soil beds or containers, here are a few key benefits.
No soil needed
If you’ve got poor-quality or hard soil in your garden that has made growing vegetables challenging, straw bales are incredibly useful. They need just a small amount of soil and require no tilling or ploughing.
No more back-breaking work
Bending over traditional soil beds is hard work. If you struggle with bending or find it hard to dig over the earth, straw bales solve this problem.
Slot into small spaces easily
Straw bales require very little space. So if you’ve already got a beautiful garden you’re proud to share with the community, it’s easy to slot in a straw bale or two to add more interest and grow your own vegetables without disrupting the rest of your garden.
How to get started with straw bale gardening
If you’re keen to start a straw bale garden, here are the simple steps to get started.
Step 1: Choose a spot in your garden
The perfect spot depends on the type of vegetables you want to grow. Some will need full, direct sunlight whereas others will be happier in a shaded spot. So do some quick research on which plants you plan on growing.
Step 2: Water Your Bale
Like compost, straw bales are always decomposing and creating a lot of heat. This is great for plants, but water evaporates quickly, so you’ll need to water them frequently.
To begin, soak the bales through until water begins coming out of the bottom. New bales will need watering at least once a day if the weather is warm.
Step 3: Add Your Fertilizer
A good-quality nitrogen-based liquid fertiliser will keep your straw bale nutrient-rich. Follow the instructions on the bottle and add as needed to your bale.
The Best Plants to Get Started With
Straw bales will grow just about anything that grows in the ground. But there are some plants that are easier to grow to get to grips with this new method.

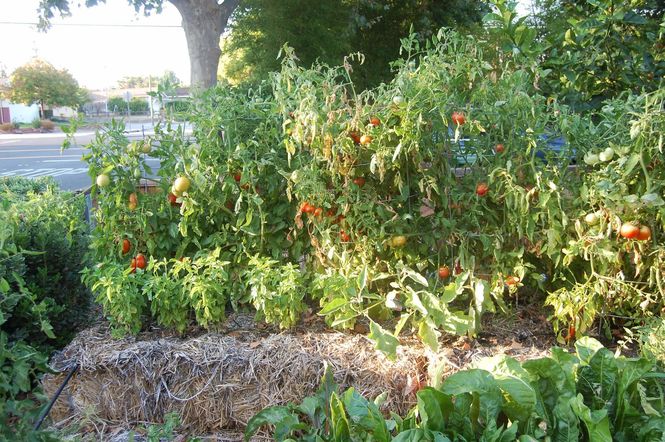
Tomatoes
Since tomatoes love warmth, they thrive in straw bales. Growing them in bales is similar to growing them in the earth or containers – they’ll need full sun and support as they grow.
If you’re starting out with one straw bale, begin with just 2 to 3 small tomato plants to ensure they have enough space to thrive.
Root Vegetables
Root veggies are a low-maintenance option for straw bales. Their roots spread easily in the straw bales helping them thrive.
Plant potato seeds 16-18 inches apart in the straw bales to avoid any sunlight penetrating and keep them covered for the best results.
Strawberries
Fruits also do extremely well in straw bales. Strawberries especially flourish when put in a sunny spot. For best results, choose a variety that doesn’t have runners to stop them drooping to the floor.
About the author
Lisa is the founder and the main writer for Sympathink. She majored in journalism and has been growing vegetables on her own plot for more than 15 years. Her passion for hands-on gardening, photography and other creative projects sparked the idea of her website https://sympathink.com/
Did you enjoy this article? You might also like Best Gardening Podcasts and Books


